
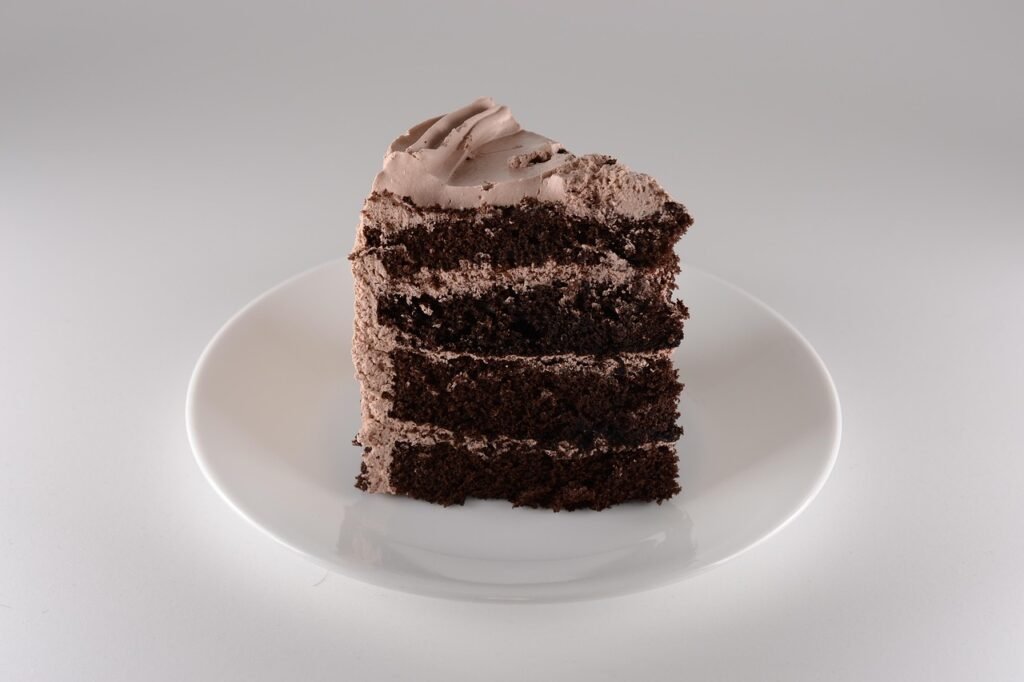
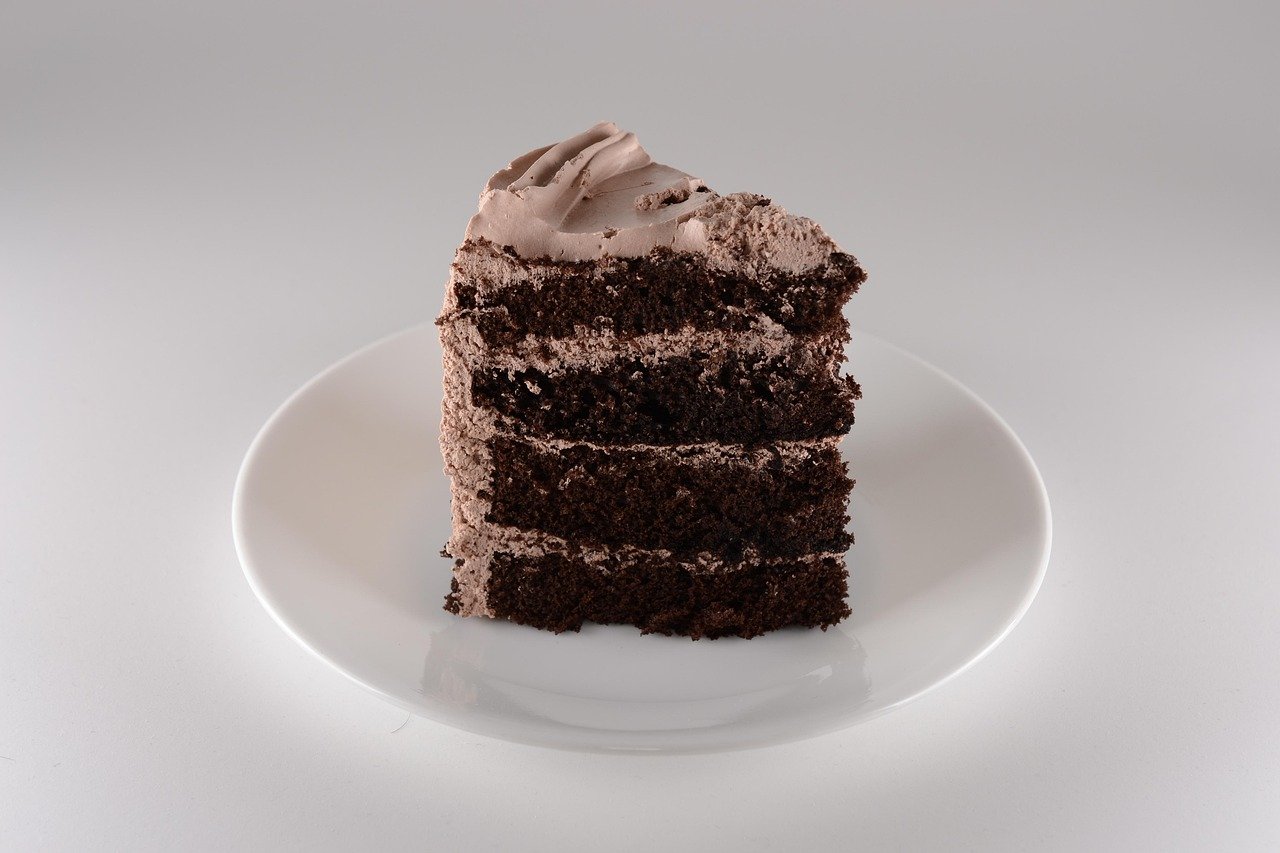
Chocolate Espresso Cake
There are chocolate cakes, and then there are chocolate espresso cakes, the kind that are unforgettable. This chocolate espresso cake is rich, moist, and deeply chocolatey, with just enough espresso to enhance the cocoa without tasting like a cup of coffee. It’s the cake you bake when you want people to close their eyes after the first bite.
Whether you are planning a Valentines Day dessert or a birthday celebration, this cake fits the moment. It looks impressive, slices beautifully, and pairs perfectly with a silky cream cheese frosting.
Best of all? It’s made with simple pantry ingredients and comes together easily.
Why Espresso Makes Chocolate Better
If you’ve ever wondered why some chocolate cakes taste richer than others, here’s the secret: espresso. Instant espresso powder doesn’t make this cake taste like coffee. Instead, it deepens the chocolate flavor, making it darker, more intense, and more luxurious.
When to Serve Chocolate Espresso Cake
This is one of those cakes that works for almost any occasion:
Valentine’s Day – Romantic, decadent, and perfect for sharing
Birthdays – Especially for chocolate lovers or adults who prefer less-sweet desserts
Dinner parties – Elegant enough to impress without stress
Coffee dates – A slice with an afternoon latte is pure comfort
Anytime baking – Because you don’t actually need a reason
Chocolate Espresso Cake Ingredients
This recipe uses ingredients you likely already have in your pantry, which makes it even more appealing when a baking craving hits.
2 cups granulated sugar
1 ¾ cups all-purpose flour
¾ cup cocoa powder
2 tablespoons instant espresso powder
1 ½ teaspoons baking soda
1 ½ teaspoons baking powder
1 teaspoon salt
2 large eggs
1 cup whole milk
½ cup vegetable oil
2 teaspoons vanilla extract
1 cup boiling water
How to Make Chocolate Espresso Cake
This cake is wonderfully straightforward. No creaming butter, no separating eggs—just mix, pour, and bake.
Preheat the oven to 350°F (175°C). Grease and flour two 9-inch round cake pans or one 9×13-inch pan.
In a large bowl, whisk together the sugar, flour, cocoa powder, instant espresso, baking soda, baking powder, and salt.
Add the eggs, milk, vegetable oil, and vanilla extract. Mix until smooth and well combined.
Carefully stir in the boiling water. The batter will be thin—this is exactly what you want.
Pour the batter evenly into the prepared pan(s).
Bake for 30–35 minutes for round pans or 35–40 minutes for a 9×13 pan, until a toothpick inserted in the center comes out clean.
Cool the cake completely before frosting.
What Makes This Cake So Moist
Several things work together to create an ultra-moist cake:
Vegetable oil instead of butter keeps the crumb soft even after refrigeration
Whole milk adds richness
Boiling water blooms the cocoa and espresso, intensifying flavor
Thin batter allows everything to blend evenly
This cake stays moist for days, making it ideal for baking ahead.
Tips for the Best Chocolate Espresso Cake
Use good-quality cocoa powder for the richest flavor
Don’t skip the espresso, even if you’re not a coffee drinker
Let the cake cool completely before frosting to avoid melting
Line your pans with parchment for easy release
Weigh your flour or spoon and level to avoid a dense cake
Variations to Try
This cake is a great base for creative twists:
Mocha Chocolate Cake
Add 1 additional teaspoon of espresso powder for a stronger coffee note.
Dark Chocolate Espresso Cake
Use Dutch-processed cocoa for a deeper, smoother chocolate flavor.
Valentine’s Day Chocolate Cake
Bake in heart-shaped pans and decorate with chocolate curls or berries.
Chocolate Espresso Cupcakes
Divide batter into lined muffin tins and bake for 18–22 minutes.
Dairy-Free Version
Substitute almond milk or oat milk for whole milk.
Storage and Make-Ahead Tips
Store frosted cake in the refrigerator for up to 4 days
Unfrosted cake layers can be wrapped and frozen for up to 2 months
Bring cake to room temperature before serving for best texture
Frequently Asked Questions
Does this cake taste like coffee?
No. The espresso enhances the chocolate flavor without making the cake taste like coffee.
Can I make this cake ahead of time?
Yes. Bake the layers a day ahead and frost before serving.
Can I use brewed coffee instead of espresso powder?
Yes. Replace the boiling water with hot brewed coffee, but espresso powder provides the most intense flavor.
What frosting pairs best with chocolate espresso cake?
Cream cheese frosting is a classic choice, but mocha buttercream or chocolate ganache also work beautifully. For the best finishing touch, frost this cake with my Espresso Cream Cheese Frosting
Chocolate Espresso Cake
Method
- Preheat oven to 350°F (175°C). Grease and flour pans.
- Whisk dry ingredients in a large bowl.
- Add eggs, milk, oil, and vanilla. Mix until smooth.
- Stir in boiling water carefully.
- Pour batter into pans.
- Bake 30–35 minutes (round pans) or 35–40 minutes (9×13).
- Cool completely before frosting.